OverviewThis article will take you through installing the necessary tools to develop games using Torque 3D. We have separated this article into two sections depending on the focus of your team. The first section is oriented towards level designers, artists, and people who are new to Torque 3D and do not need to dive into the source code. The second section is oriented towards programmers who will be working with the source code of the engine. New Users, Scripters, and ArtistsNow that you have decided to work with Torque 3D, this section will take you through setting up your environment.
Common Graphic Drivers Common Sound Drivers ProgrammersWhen you buy the T3D license, you receive access to the complete engine source code. This allows you to customize the engine to meet your project needs.
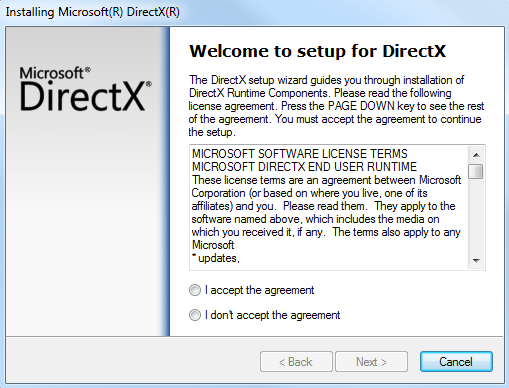
Part 1 - Download the Required FilesTo successfully compile the engine source code, you will need to download these files. Part 2 - Install the DirectX SDKHow to download and install the DirectX SDK. Part 3 - Installing Visual C++ ExpressInstall Visual Studio C++ 2008 ExpressInstructions for installing Visual Studio C++ 2008 Express. Install Visual Studio C++ 2010 ExpressInstructions for installing Visual Studio C++ 2010 Express. Part 4 - Setup the Development EnvironmentSetup the Development environment (Visual C++ 2008 Express)Setting up the Visual Studio C++ 2008 environment. Setup the Development environment (Visual C++ 2010 Express)
Setting up the Visual Studio C++ 2010 environment. Part 5 - Work with a Torque 3D ProjectHow to compile a T3D project. |